
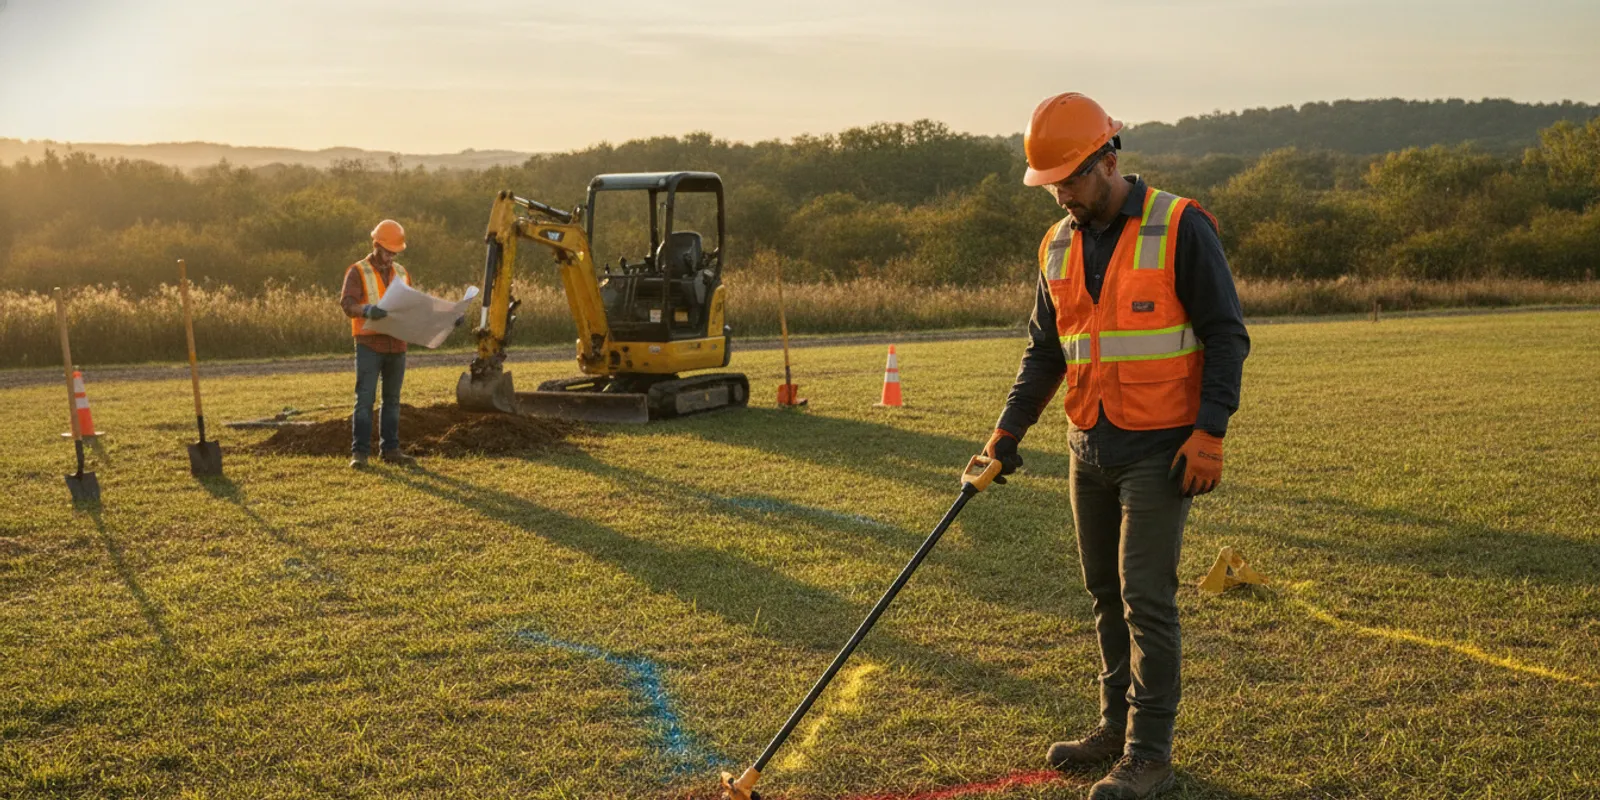
An underground wire locator helps a project team investigate conductive electrical lines before excavation, but the device is only one part of a sound field process. Professional locating combines electromagnetic (EM) equipment with site context, available records, visible access points, and the planned work area. Knowing what the equipment detects—and what it cannot confirm—helps contractors and property owners define a useful scope before digging.
Why plan a wire locate before excavation?
Buried electrical conductors may serve a building, detached garage, gate, pump, landscape lighting, pool equipment, or other feature away from the main structure. Some facilities are privately owned and may not be included in a public utility marking request. A public one-call request and a private investigation address different parts of the utility picture. Review how private locating and 811 fit together when planning work.
Define the full work footprint, not just the point where a post or footing will go. A trench can cross a line well before it reaches its endpoint. A bore may extend beyond visible launch and exit areas. Grading or landscaping can affect a broad area. The locate scope should reflect the area that excavation or ground disturbance could reach, including staging or access areas if work will disturb them.
Locating is a risk-reduction step, not a guarantee that every buried object will be found or that excavation is risk-free. Follow applicable one-call rules and project safety procedures. OSHA provides general construction safety information at the Occupational Safety and Health Administration website; project teams should follow the requirements and procedures that apply to their work. If the plan changes after marks are made, reassess whether the investigated area still covers the actual work.
How does an electromagnetic underground wire locator work?
EM locating equipment detects electromagnetic signals associated with conductive objects such as metallic wire or cable. In active locating, a transmitter applies a signal to a target conductor, commonly through a suitable direct connection or by induction. A receiver is moved across the ground to detect and follow that signal. In passive locating, the receiver listens for signals already present, such as some energized electrical current or radio-frequency energy.
When a signal is sufficiently clear, the operator can follow a likely route and mark it on the surface. Some equipment also estimates depth. That estimate is derived from the detected signal and operating conditions; it is not a verified measurement of the line’s exact position or a safe digging clearance. The operator must interpret readings in context, particularly where multiple conductors or structures are close together.
When is active locating useful?
Active locating is useful when a target conductor can be accessed and a signal can be applied. An accessible cable or suitable connection point may let the operator trace a selected line rather than rely only on signals already present in the environment. The result still needs interpretation. A signal may transfer to another conductor, follow connected branches, or become difficult to distinguish near junctions.
For example, if a project will trench from a building toward a detached shed, an accessible point may help trace the feed along the route. If the signal appears to split or continues in an unexpected direction, the technician should investigate the response rather than assume every trace belongs to the intended cable. Sharing the expected destination and available access points helps frame that field assessment.
What can passive locating tell you?
A passive sweep can provide useful reconnaissance by detecting some signals present without connecting to a target. But a quiet receiver does not establish that the ground is free of wires. A de-energized conductor, unpowered communication cable, disconnected line, or conductor without a detectable signal may not register. Passive results are a starting point, not a complete inventory.
What can affect the result?
A locator responds to signals, not labels on a plan. The technician must judge whether a response likely represents the intended line and whether it can be followed consistently. Common complications include:
- Limited access: Active methods may need a suitable connection point. If it is unavailable or unsafe to access, the approach and confidence may be limited.
- Signal coupling: A signal can transfer to neighboring conductors, producing extra responses or making it harder to separate parallel routes.
- Target material and condition: EM methods depend on a conductive path or detectable signal. Nonconductive facilities and some unpowered or inaccessible lines may not be traceable by EM alone.
- Congestion: Closely spaced utilities, metallic structures, and dense site infrastructure can complicate route interpretation and depth estimates.
- Surface and ground conditions: Paving, restricted access, disturbed areas, and subsurface conditions can influence which methods are practical and how findings are interpreted.
- Incomplete records: Plans can guide coverage, but older or approximate drawings may not reflect current field conditions.
- Scope gaps: A route outside the requested work limits may not be investigated. Expanding a trench or moving an equipment pad can create a new area that needs review.
A useful field discussion should make clear what area was investigated, which responses were observed, and what limitations affected the work. SafeLine describes its investigation process and deliverables. Understanding scope helps the project team use findings appropriately.
When can GPR supplement EM locating?
Ground-penetrating radar (GPR) sends radar energy into the ground and records reflections from subsurface changes. It may add context where a target is not readily traced with an EM signal, including investigation of some nonmetallic infrastructure or complex areas. A GPR response is an anomaly to interpret; it does not automatically identify the object as an electrical wire.
The methods answer different questions. EM can trace a conductive line when an appropriate signal is available. GPR may reveal subsurface changes that do not produce a useful EM response. Ground conditions, target size and material, depth, and site access affect GPR results. Complementary methods can strengthen an investigation, but neither guarantees detection of every buried feature. See the overview of GPR investigation and this comparison of GPR and electromagnetic locating.
| Approach | What it can contribute | Important limitation |
|---|---|---|
| Active EM | Trace a conductive target when a suitable signal can be applied | Access may be needed; signal can couple to nearby conductors |
| Passive EM | Initial sweep for detectable signals already present | May not detect unpowered or non-signaling lines |
| GPR | Investigate subsurface changes that may add context to EM findings | Response depends on target and ground conditions; anomalies need interpretation |
| Records and site review | Guide coverage and help evaluate whether a route is plausible | Plans may be incomplete, approximate, or outdated |
How should a team prepare for a professional locate?
Preparation makes it easier to focus field effort on the work that matters. Before the visit, define the excavation footprint and likely limits, then share the planned method and approximate depth where known. A narrow trench, a bore path, and a large grading area call for different coverage discussions.
- Map the proposed work. Mark the trench, footing, pole, fence, or equipment location on a drawing or describe it with clear site references. Include the route between endpoints, not only the endpoints.
- Explain how the ground will be disturbed. Share whether the plan involves digging, boring, grading, or installing equipment, along with anticipated limits and schedule.
- Collect records. Provide available utility plans, as-builts, prior locate notes, site drawings, and information about known private electrical features. Treat records as reference material, not proof of exact field positions.
- Point out visible clues. Note panels, meters, pull boxes, conduit ends, lighting, pumps, gates, and detached structures. Do not open electrical equipment or attempt a connection unless qualified and authorized.
- Arrange access. Identify locked areas, gates, restricted zones, and a site contact who can answer questions or help locate access points.
- Flag uncertainty. Tell the locating team about abandoned lines, past repairs, planned routes, or areas where records conflict with visible features.
- Update the scope if plans move. If the trench shifts or expands, check whether the revised footprint was covered before work begins.
Use the pre-excavation locate checklist to organize information. Projects involving several utility types or a broader site may benefit from utility mapping and documentation. For additional context, consult the utility locating and subsurface services overview.
How should crews use surface markings?
Surface marks communicate the interpreted route of detected facilities within the investigated area. They are not a physical barrier, a complete map of everything underground, or a guarantee that the entire line has been found. Keep marks visible and share their meaning with the people doing the work. If marks are unclear, disturbed, or inconsistent with the planned excavation, stop and seek clarification through the project’s established safety process.
Do not treat an unmarked area as confirmed clear. It may be outside scope, inaccessible, undetectable with the selected method, or absent from available records. Compare markings with the actual limits of excavation, and reassess after changes. SafeLine’s guide to underground utility marking colors provides background; follow applicable local requirements and site procedures.
How do common project situations change the scope?
The same locator may be used in very different settings, but the questions and coverage differ. Consider these examples when defining the work:
- Fence installation: A post line may cross landscape lighting, an electrical feed to a gate, or a service route to an outbuilding. Share the full fence alignment and gate locations; do not limit the request to one post.
- New shed or detached garage: The route from the main building to the planned structure matters as much as the footprint. Existing panels or pull boxes may offer useful context for tracing.
- Pool or pump work: Identify equipment pads, lights, and known control or power routes. Congestion around equipment can complicate signal interpretation, so clarify the work zone.
- Landscape or lighting changes: Broad shallow work can cross multiple small conductors that do not appear on building plans. Define the whole planting, pathway, or lighting area.
- Commercial renovation: A site may have accumulated additions and repairs over time. Prior plans, visible equipment, and a clearly bounded construction zone help the field team evaluate discrepancies.
These examples do not establish that any particular line exists or can be detected. They show why location, access, intended work, and known site history should be discussed before fieldwork.
How should teams manage changes to the work area?
Changes are common between planning and construction. A footing shifts to avoid a tree, a trench takes a different route, or the contractor extends work to connect a second feature. Each change raises a practical question: does the existing investigation still cover the ground that may be disturbed?
Compare the revised drawing or field layout with the investigated boundary. Identify any newly added corridor, endpoint, or work zone and ask whether it was covered. Do not assume a nearby mark applies to a relocated route. If marks have faded or construction has disturbed them, request clarification or renewed field review before relying on them.
For a simple example, imagine a planned 20-foot trench to a shed that becomes a 35-foot route around a tree. Even if the endpoint remains the same, the added segment may cross a different area. Communicate the changed path and wait for the project’s locating and safety process to address it. Keeping a current drawing and a record of scope changes helps the crew understand which findings apply.
When should you hire a private locating specialist?
Consider professional locating when excavation is planned near electrical infrastructure, when a private line’s route is unknown, or when a site has several possible utilities and little tolerance for uncertainty. A specialist can assess the target and access, select a suitable approach, document observations, and explain limitations relevant to the scope. This can be especially useful when plans are sparse, the site is congested, or work has changed.
SafeLine provides private utility locating and information for contractors planning subsurface work. The appropriate scope depends on the property, target, access, and excavation plan; no method promises that every underground feature will be detected under all conditions. Homeowners can review private locating information for homeowners before describing a project.
Frequently asked questions
Can an underground wire locator find every buried electrical line?
No. EM equipment needs a detectable signal and suitable conductive path. Some lines may be inaccessible, unpowered, disconnected, or affected by site conditions. An investigation can reduce uncertainty, but no single method proves every buried line is absent.
Does private locating replace calling 811?
No. Private locating does not replace required one-call notification. Follow applicable rules before excavation, then determine whether private lines or other uncovered features also need investigation. These steps address different parts of the utility picture.
Does a depth reading tell me how deep it is safe to dig?
No. A displayed depth is an estimate based on the detected signal and operating conditions. Do not treat it as guaranteed clearance or as a substitute for the excavation plan and applicable safe-digging practices.
When might GPR help with a wire investigation?
GPR may supplement EM when a line cannot be traced clearly or when the project needs additional context about subsurface features. It may show an anomaly without identifying it as an electrical line, and performance depends on target and ground conditions.
What should I do if the work area changes after locating?
Compare the revised footprint with the area that was investigated. If work moves or expands beyond it, arrange clarification or additional coverage before excavation rather than assuming the original marks apply to the new area.
Defining the actual work area, sharing records and access information, and treating marks as interpreted field findings gives crews a clearer basis for planning. When uncertainty remains, clarify the scope and applicable safety steps before excavation begins.